 Vincent Germain
Michinoku Coastal Trail Guide: Practical Questions
I walked the MCT from March to May 2026. I have gathered in this article several pieces of advice that might help you prepare your own hike, whether you walk some sections of the trail or the whole trail.
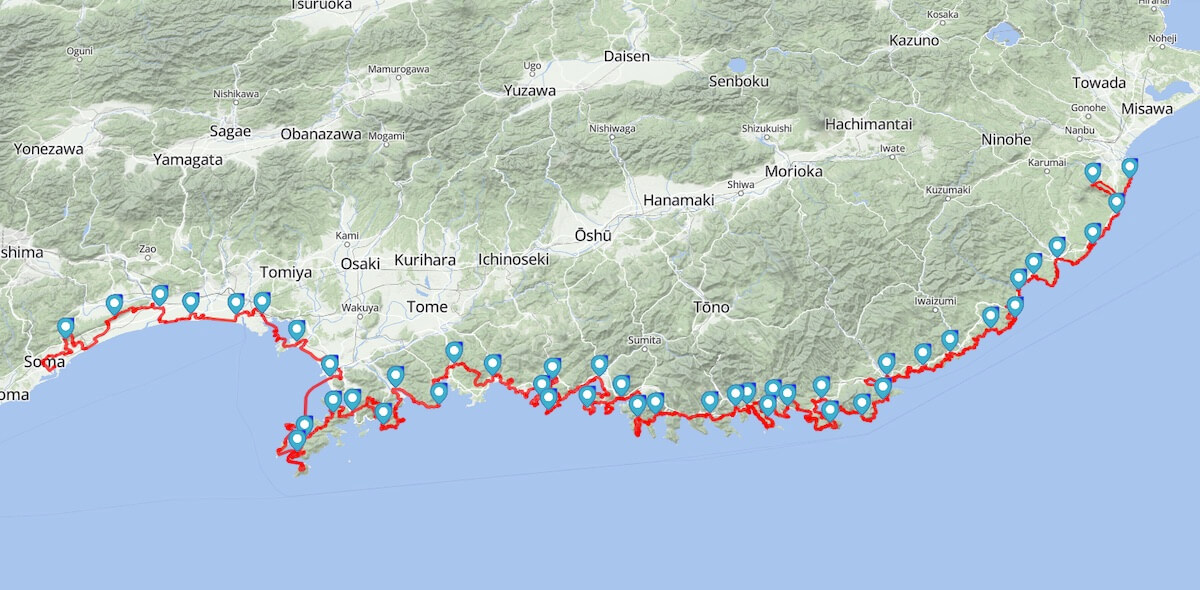
Before leaving, check the Michinoku Trail Club’s official maps and GPX data and its latest trail alerts . Detours and access conditions can change after construction, fires, earthquakes, or severe weather.
In this article
Accommodations
Should I book my accommodations in advance for the MCT?
TL;DR: Book in advance if you walk a few sections, but consider booking only a few days in advance if you plan to do a thru-hike.
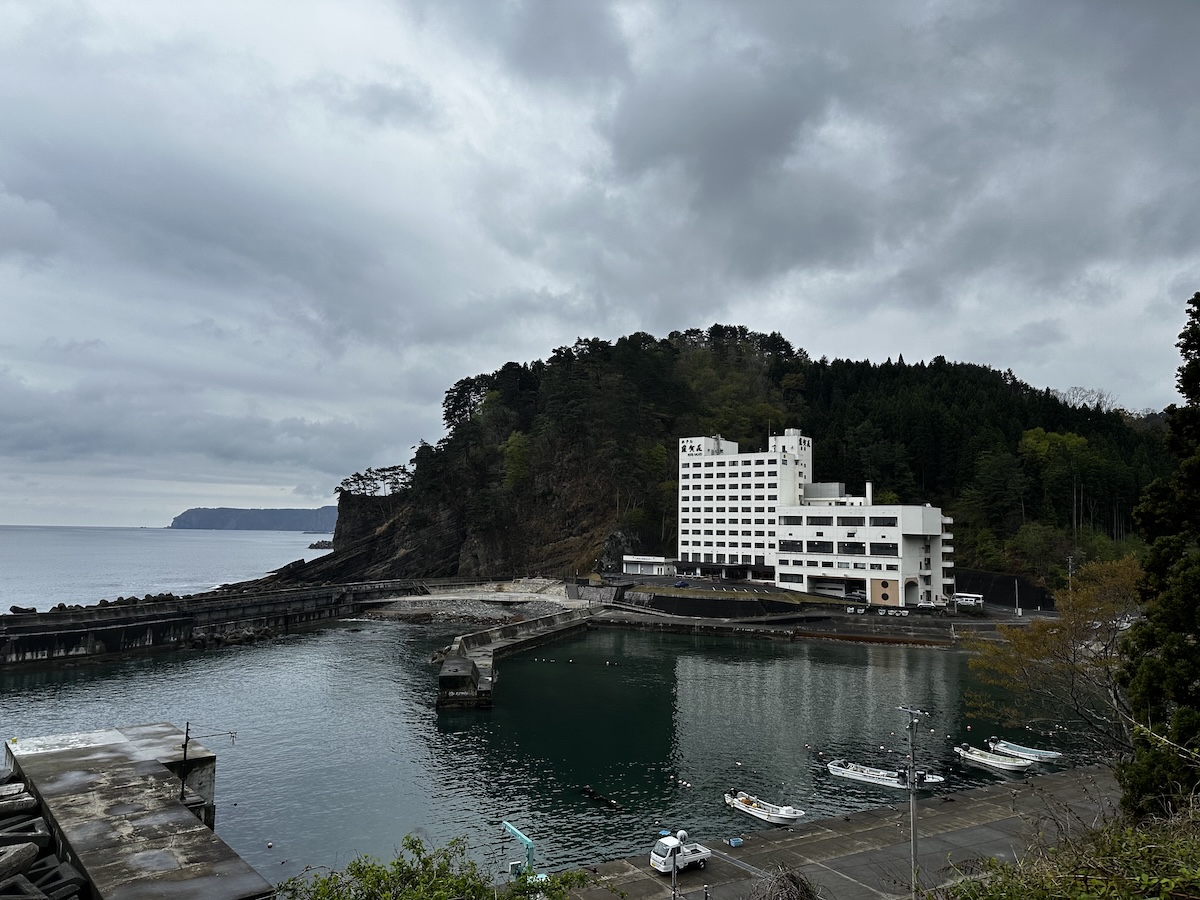
- Most of the accommodations along the trail have a small number of visitors. It’s unlikely you’ll find fully booked places for a specific day. But it might depend on the period (e.g. Golden Week is busy).
- Hotels can be booked the same day through websites like Agoda/Booking. Inns will prefer if you let them know a few days before, but you can try to knock at the door and ask (it’s mainly an issue for them if you ask for dinner the same day).
- You can leverage public transport (e.g. train with the JR Line) to jump to a nearby city (with more choices). But it only works on some sections of the trail.
- Your agenda might change while hiking due to the weather, trail work, injury, or even natural events (earthquakes, forest fires, etc).
- In general, you might want to have a planned agenda for the next 3-5 days.
- Take the cancellation policy into consideration, especially if you plan to book dozens of accommodations for a thru-hike.
- Personal experience: I booked all my accommodations 2 months in advance, and it worked (almost) fine. I had to skip a few kilometers when I was hurt, and I had to book some nights last minute as I eventually dropped my camping gear.
Should I bring my camping gear for the MCT?
TL;DR: The whole trail can be achieved without camping if you are in good physical shape.
- The added weight of the camping gear in your backpack is a criterion to take into account, especially if you are not used to it. Plus, consider that a good 70% of the trail is on concrete, making it harder for your legs.
- A few sections (around 10%) have very few (to no) accommodations (usually peninsulas with mostly forest). So you either have to camp, or you have to walk the whole section in one day. If you can walk 35-40km in one day, then it’s doable. But if your maximum distance per day is 20-25km, then consider skipping some of the 10% parts.
- You don’t need to hike the whole trail. Skipping a few sections in order to have a better experience of 90% of the trail is a good tradeoff.
- It’s possible to offload the content of your bag for some days if you sleep at the same accommodation for 2-3 days. It’s a good approach to make difficult days a bit easier. But avoid sleeping more than 3 days at the same place (to not take root).
How to book accommodations for the MCT if I don’t speak Japanese?
TL;DR: Book most of the accommodations through the internet (website, mail, Facebook, Instagram), and fall back on trail helpers for some.
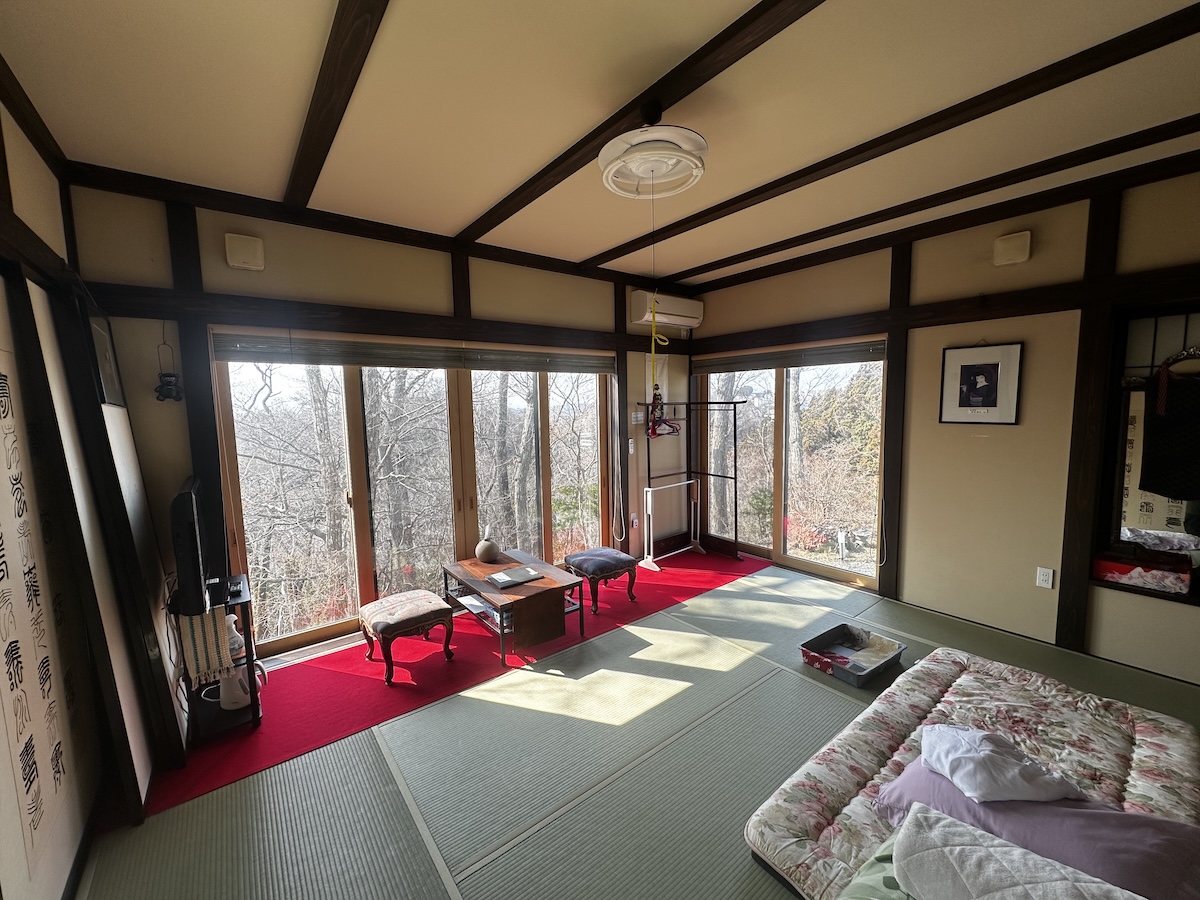
- My order to look for an accommodation was this one: homestays (Airbnb, staying with a Japanese host / family), then inns (like a minshuku managed by 1-2 people), and then hotels.
- Try to book online. Most hotels can be booked through their website (but you might need Google Translate) or a third party like Agoda. Most inns don’t have an online form, and you’ll need to find their email, Facebook or Instagram to reach out manually (but they usually answer within a day or two!!).
- Most hotels can be paid online (in advance), or in person with cash or cards. But most inns will ask you to pay in person, and with cash.
- Most accommodations can be booked up to 3 months in advance, but sometimes it’s 2 months.
- If the booking can only be done by phone (and you don’t speak Japanese), you should find someone to book it for you (like michinoku-hikers.com).
How much does a night cost in Japan?
TL;DR: Expect a price of 6 500 - 8 000 yen for one night on the trail (breakfast included). Expect up to 12 000 yen for upper-end locations with « two meals » included (so with dinner). Anything above should be « challenged ».
- There are few scams in Japan (especially in rural areas), but always confirm/verify the price of inns when you check in.
Food and Water
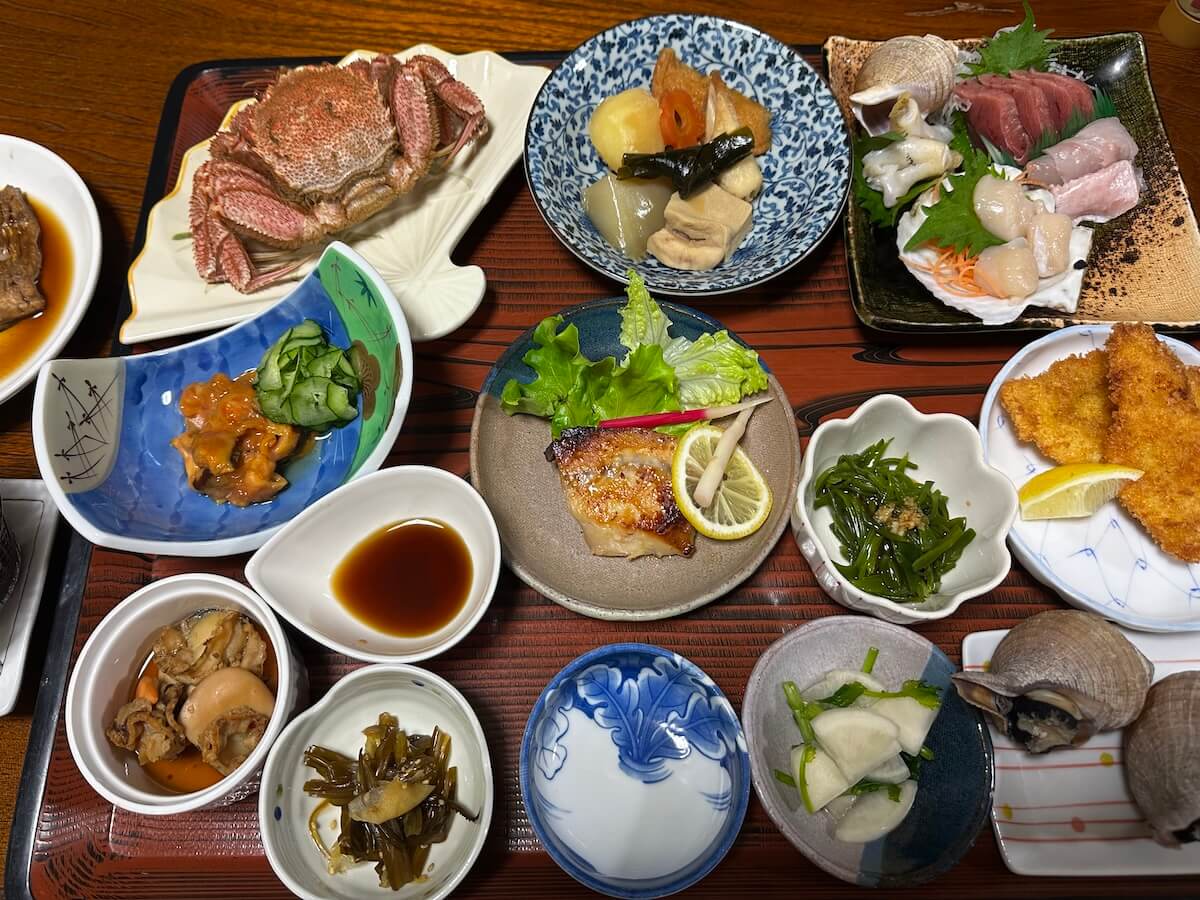
Should I ask for breakfast and dinner at the accommodations?
TL;DR: Eat breakfast whenever you can, but avoid dinner most of the time.
- Breakfast is usually affordable and very filling (miso, rice, egg, natto, etc), making it a great price/value ratio. Plus, you need a good amount of energy for the day ahead.
- Consider that breakfast usually starts at 6:30, so you won’t be able to leave before 7am if you take it. Since the sun rises around 5-6am, you might miss some hours in the morning.
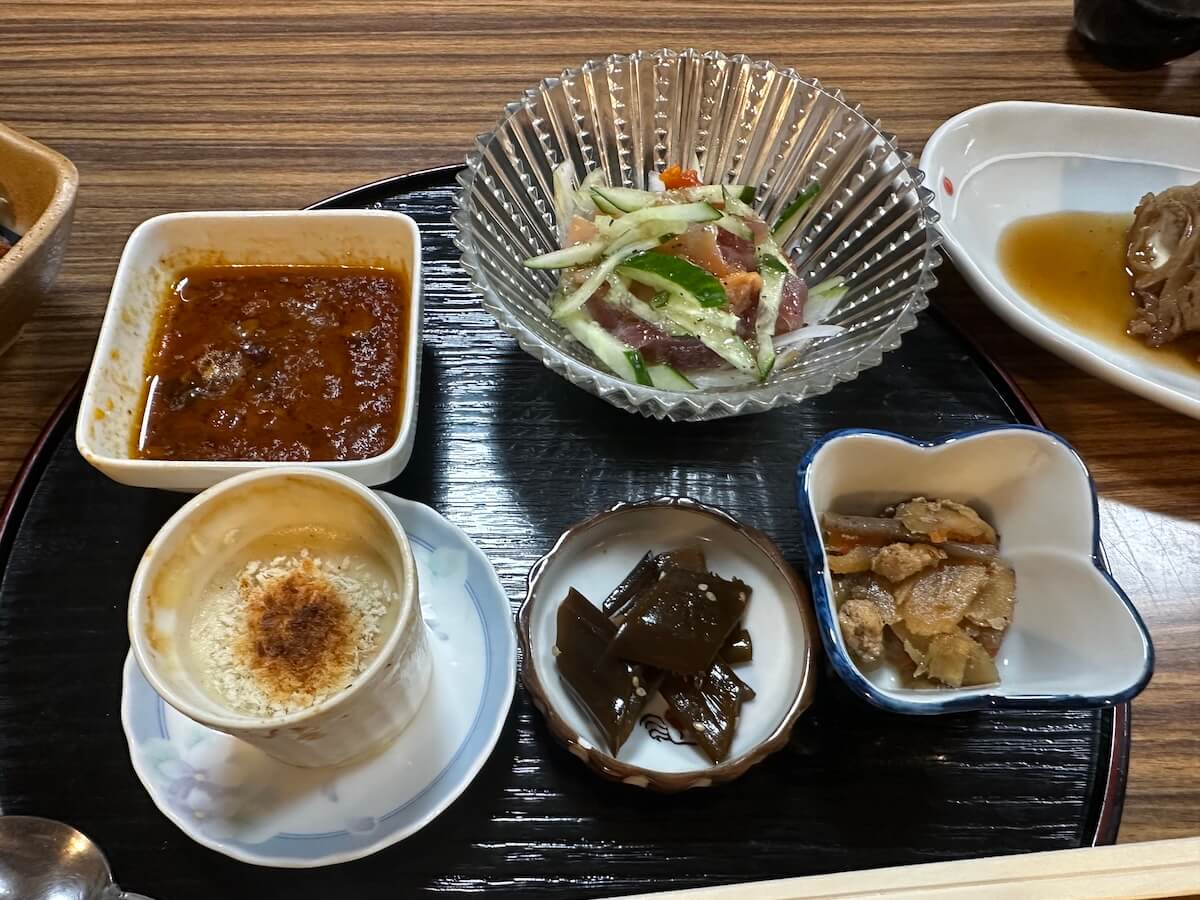
- Dinner is usually a « full plate » with A LOT of food. On the coast, your hosts will likely prepare a lot of seafood, both in quantity and quality. You need a big stomach to handle this much food for weeks!
- Prefer dinner in remote locations, where there are few or no shops, and go to restaurants (or supermarkets) in bigger cities.
- If you don’t like seafood, please tell your host in advance. And even if you like it, you might do an overdose after a few weeks.
- You can ask your host if they can prepare onigiri for you. It’s a common practice in Japan. But it might (of course) cost you a few yen. Eat the onigiri in the morning to fuel you!
Where to buy food?
TL;DR: Support local restaurants whenever possible, and fall back on supermarkets or convenience stores. Bentos and dry food are usually affordable.
- You’ll find plenty of small restaurants along the trail. Sometimes you might have to walk a small detour, but it’s usually worth it. Prices will usually be around 1200 yen per person per menu (and as low as 800 yen for some ramen). Food is usually served very quickly, so it’s not going to slow you down.
- Convenience stores (7-Eleven, Lawson, etc) are a bit more expensive (compared to classic supermarkets), but it should be a small part of your budget (compared to the accommodations and the plane). For instance: one onigiri is usually 120-150 yen; one bento 400-600 yen; etc.
- Supermarkets are easy to find in cities accessible by public transport. Tip: you should check the « discount » section around the end of the day, to get 30-50% off some food! And you can often heat and eat the food directly there.
- Some sections of the trail will have little to no food for 1 or 2 days. So you should anticipate each morning, and buy enough food depending on your plans. Always have more than what you plan to eat! (Walking gets you hungry).
- You might be told that Google Maps is not good to find nice restaurants, and to use Tabelog instead (because « Japanese people don’t use Google Maps a lot »). But honestly, Google Maps reviews are numerous, so using Google Maps is fine (compared to some other Asian countries, like China).
Where to find water?
TL;DR: Vending machines will be of great help. It’s a bit more expensive than buying water at stores, but it allows you to carry less weight.
- Always bring with you at least 2 (and ideally 3) liters of water if the day will be through the forest. Forest usually means more difficulty (e.g. elevation), no vending machine, and no way to refill water.
- There are multiple water refill points along the trail. Please check the official maps and data , which list them.
- Have a strap on your backpack that can support a small bottle. You’ll need to drink every now and then, and it’s easier to have a bottle at hand (than having to open your backpack each time you need to drink).
Public Transport
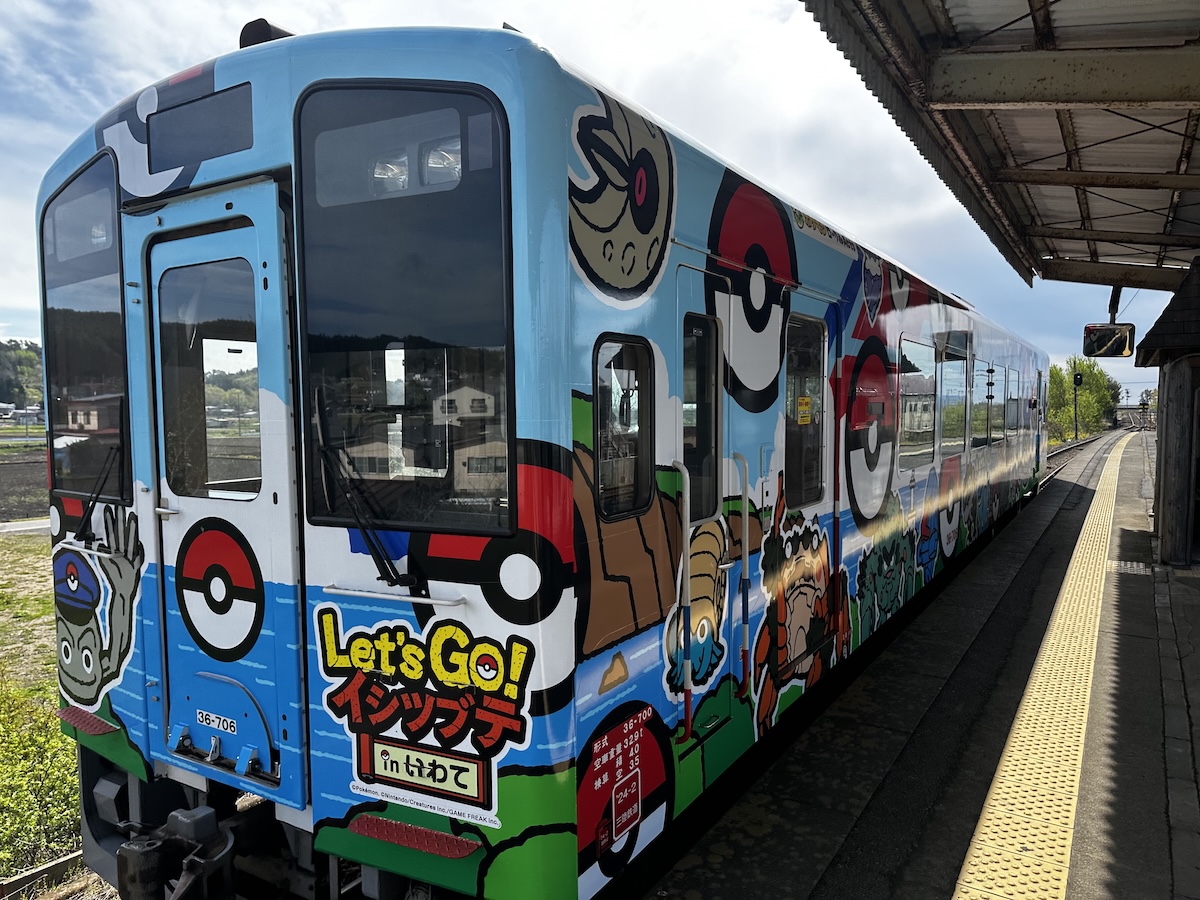
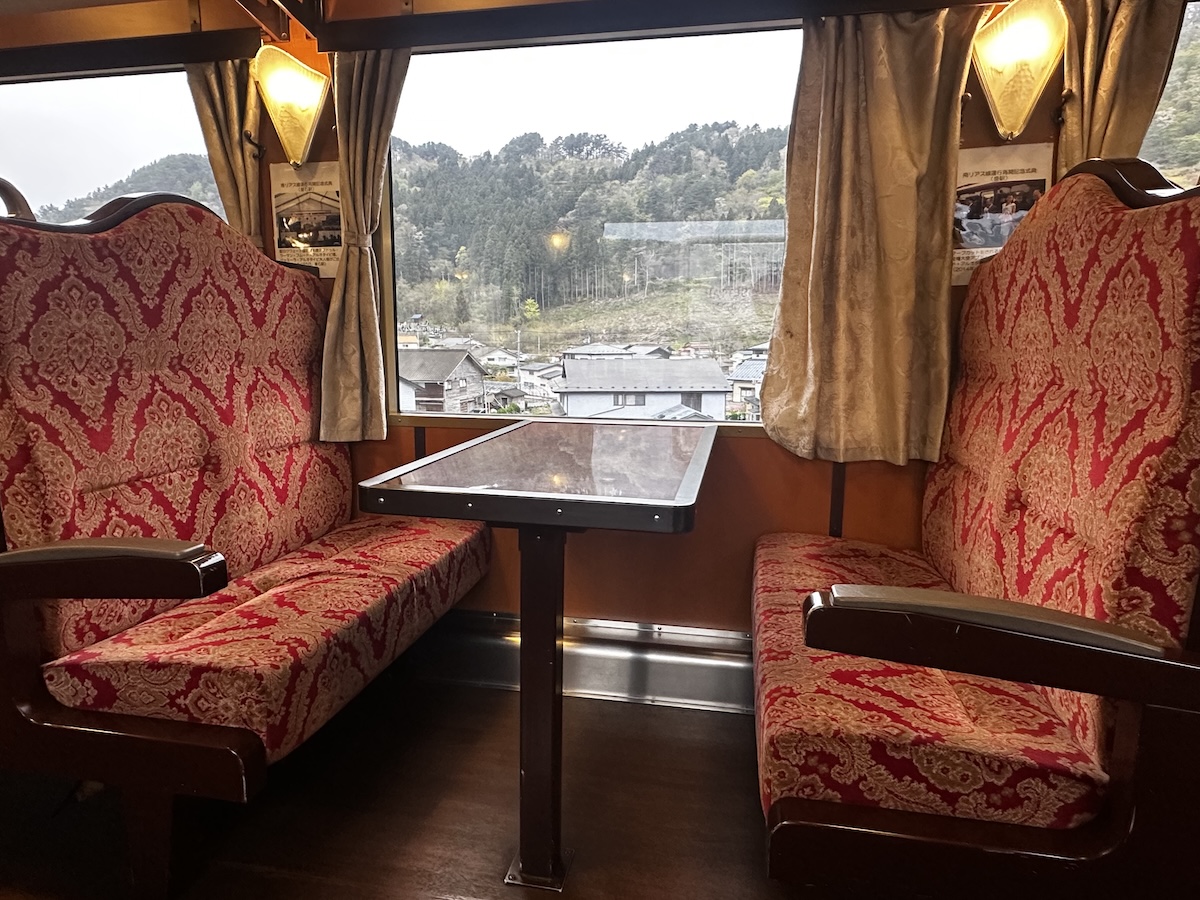
Can I use the train along the trail?
TL;DR: It really depends on the section. Some sections have train stations every 10 kilometers, while some don’t have any at all. Overall, it’s of great help, and you SHOULD use public transport to organize your trip.
- Some purists might avoid public transport (especially when camping). But honestly, it’s not worth avoiding if your goal is to have a pleasant experience.
How often can I expect to find a train?
TL;DR: Trains have sporadic schedules, concentrated mostly in the morning and late afternoon. Expect something like 6:30, 7:50, 10:00, 11:30, 2:00, 4:30, 6:00, 8:00, 10:00. The precise timetable can be found on the internet, Google Maps, or just at each train station.
- Trains are usually on time, rarely late (of a few minutes), but never early.
- Trains can be canceled if the weather conditions are bad (e.g. strong wind). You should find a notice on the train website, or in some tools like Google Maps (in the timetable screen).
- Estimate in advance how much time you’ll need for your hiking day, in order to target a specific train time. Otherwise, you might end up waiting 2 hours for the next train.
How to pay for a train in Japan?
TL;DR: You pay in cash, and the price depends on the distance.
- The method depends on the train line, and if you start from a big station or if you take the train from a smaller station.
- In any case, you’ll need cash. Either coins, or bills (to be converted into coins by a machine located in the station, or in the train itself). No IC card or credit card.
- In a big station: you buy a ticket from a vending machine. The ticket either specifies the destination station, or the price of the ticket (and the price is fixed depending on the distance you plan to do). Then you give the ticket when going out of the train.
- In a smaller station: you take a ticket when entering the train (the ticket tells which station you started from). When you leave the train, you give both the ticket and the coins.
Forest and Wildlife
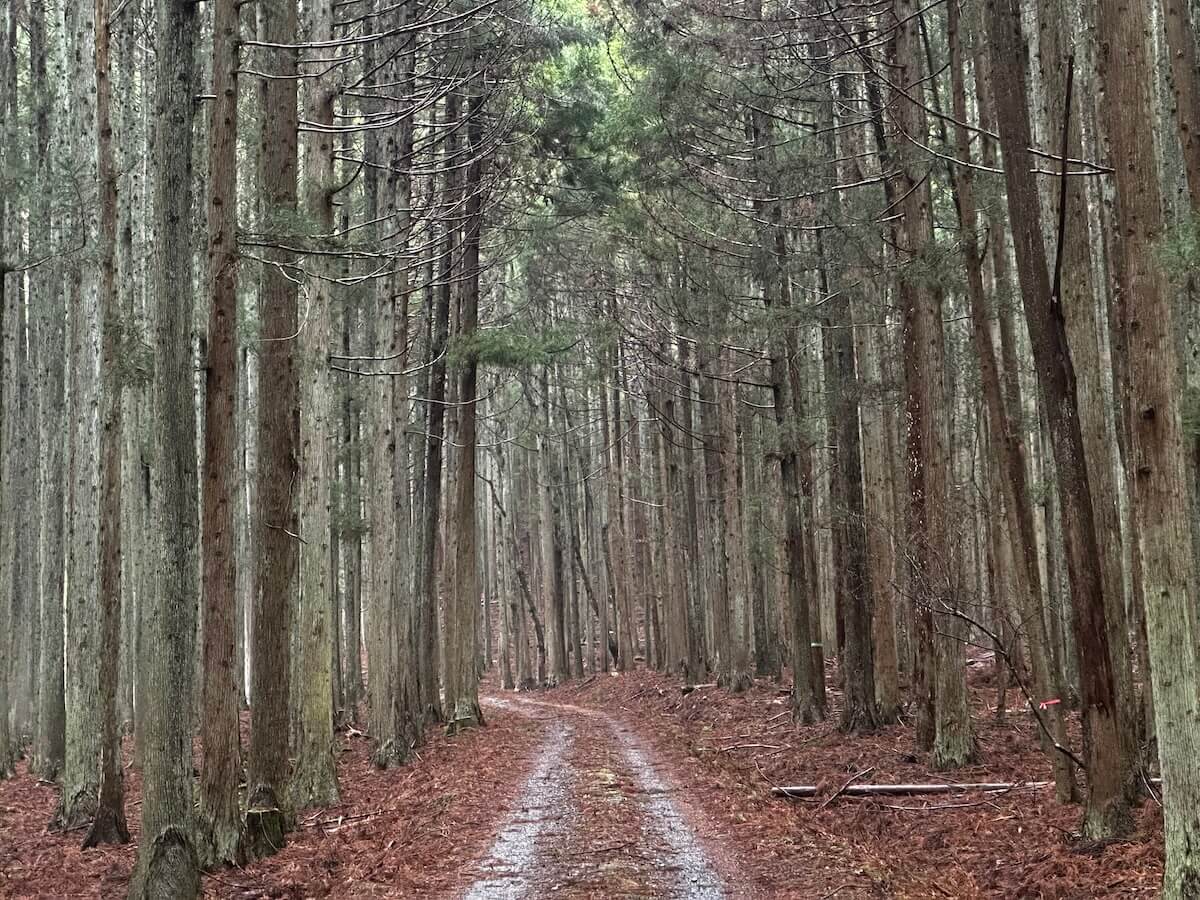
Avoid difficult sections when it’s raining
TL;DR: That’s a recommendation for anyone, regardless of your hiking experience.
- Some sections have an « important » elevation on a short distance (like 400 meters to climb on 2-3 kilometers). Almost all of these sections are dangerous to climb up (and even more down) when it’s raining (or when it’s wet following a rainy day).
- It’s not worth putting your health at risk in order to complete the entire trail.
How to fight bears, leeches, ticks and snakes
TL;DR: You don’t fight, but you are careful and take precautions.
- Bears: do NOT hike when it’s dark. Buy bear spray in Japan with a holder (it’s expensive, but it’s good insurance). Don’t stress about bears too much (it’ll do you more harm than good). Have a bear bell with you (but it’s more likely to frighten other animals than bears). Be prepared, but don’t overthink it. Stay informed through the official MCT alerts .
- Ticks: hike with pants (and not shorts). Keep an eye on your legs from time to time. Walk fast (they can’t jump on you if you are fast!!! 😏). In my case, I saw only ticks during one specific day, then none.
- Leeches: same as for ticks.
- Snakes: you might encounter one or two during your entire hike. Your best shot is to be able to detect them. Most won’t attack you if you leave them alone.
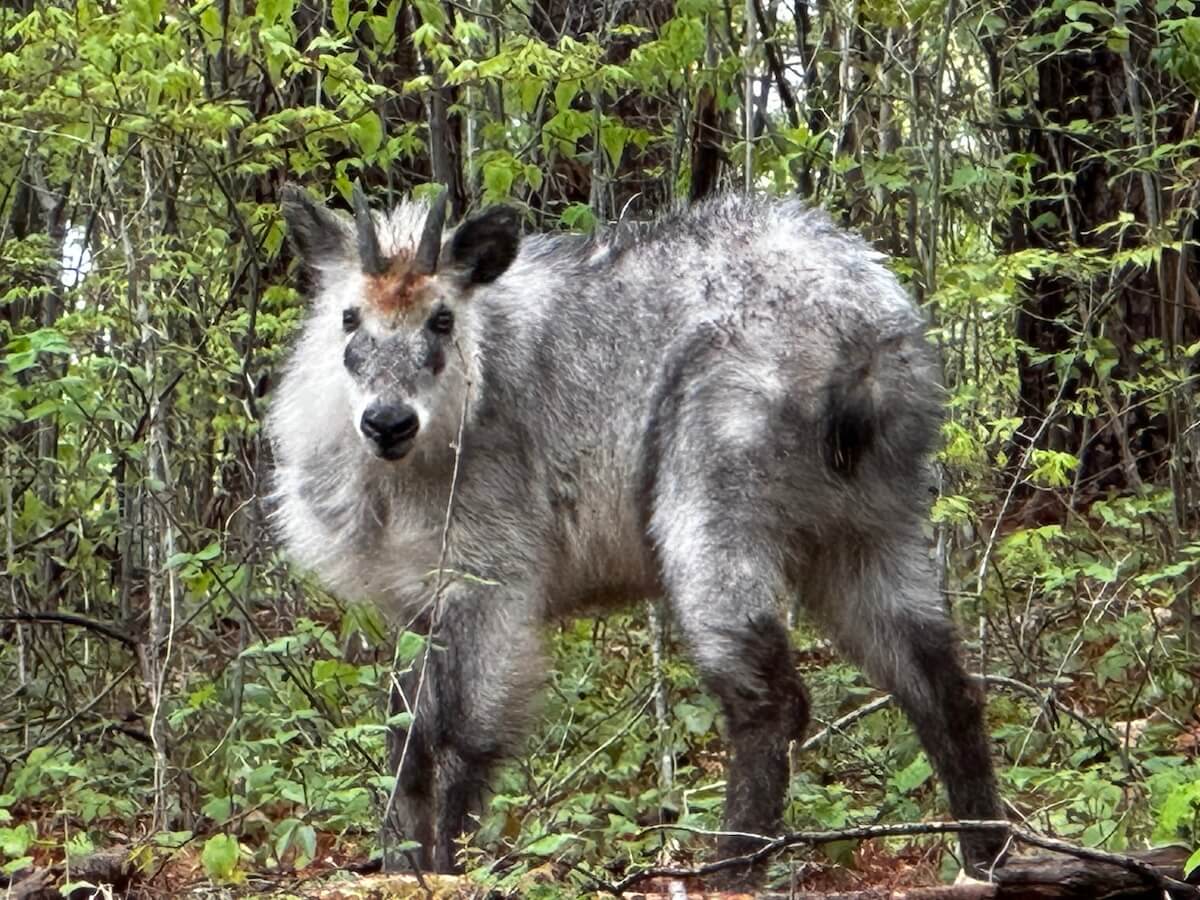
- It’s more likely you’ll encounter different wild animals such as deer, wild boars, kamoshika, etc. Most will spot you from afar and avoid you.
Gear & Safety
Clothes
- Hat: I recommend one that covers 360° of your head, and not just a baseball cap.
- Upper body: I recommend the « 3 layers » method, which covers most weather conditions. And for the T-shirt, a long-sleeve one to protect your arms from the sun is a very welcome addition.
- Lower body: classic hiking pants should be enough. One where you can detach the lower part to transform it into shorts is a nice-to-have, but I never used this feature during my entire trail.
- Shoes: good shoes are mandatory! But walk with them at least a few weeks before the trail, don’t bring brand new shoes with you. Your feet need to get used to them.
- Don’t bring too many clothes, and rely instead on washing machines (take into account that you probably won’t be able to customize the washing temperature).
- The raincoat will be useful against wind too!
Pharmacy
- Emergency kit: in case you get hurt! (e.g. cuts).
- Anti-blister: they might save your feet at the beginning, then your feet should get used to friction.
- Anti-pain and anti-inflammation: in case your body starts hurting.
- Vitamins: consider bringing vitamins to help your body recover. For instance, magnesium can be a good helper for muscles and sleep.
- Make your kit as compact as possible, remove extra dead weight.
- You can find some products in local pharmacies, but they might not be what you are used to buying in your own country.
Accessories
- Bear spray: you’re unlikely to need it, but it’s good insurance! Pair it with a holder, so it stays at hand in case you ever need it. You can’t bring bear spray on a plane, so you’ll have to either buy it in Japan (for example at Montbell), or have it delivered to your hotel after ordering it online.
- Sticks: mandatory if you want to make it easier for your legs and knees (for the concrete, and to climb up/down hills).
- Headlamp: you would need it only once or twice for small caves. And usually using your smartphone is enough. So I would recommend avoiding this weight. And you won’t be walking during the night (you def should NOT walk at night).
- Battery: bring a small battery that can recharge your phone. Not a big and heavy one, only one that can add a full charge to your phone. You’ll need it!
- Adapter and cables: bring a JP adapter so you can charge your devices, and try to minimize the related cables. Note that most USB ports in planes and hotels are still USB-A.
- Earbuds and sleep mask: most places in Japan have bad sound insulation, so you better bring (just in case) a way to sleep well.
Mobile Apps
- Install NERV for earthquake alerts. It works great… (I experienced it).
- Install a map app that works offline (such as organicmaps.app ). Download the maps related to the trail inside the app (so Fukushima, Miyagi, and Iwate prefectures). And open the official GPX file from m-tc.org. This way, it’ll allow you to orient yourself even when your phone has no network.
- Install a translation app. You could use Apple/Google apps, but I consider the translation quite inaccurate most of the time (at least as of April 2026). So I would recommend trying DeepL for conversations, and maybe an AI such as ChatGPT or Claude for complicated texts. That being said, DeepL requires an internet connection, so consider having Apple/Google with on-device translation as a backup.
- Install an AI app. Whenever you are struggling with something, it’ll help you. For instance, if you look for the timetable of some trains or ferries, it’ll read the Japanese pages for you, and give you the proper information. You can even use it to translate restaurant menus!
- Additional tip: put your phone in « low battery » mode as soon as the day starts. Avoid shutting down your phone or removing the network, as you want to be able to receive earthquake/tsunami alerts.
People and Language
Will I meet hikers during the trail?
TL;DR: Yes, if you prepare. But otherwise, not much. Better force your luck!
- You usually meet hikers going the other way.
- You usually don’t start the same day or go at the same speed. As such, it’s unlikely to meet people, despite being a few kilometers apart.
- You can meet some hikers at accommodations, but it’s rare (happened a few times to me).
- Your best bet is to create a chat group for the period, and let people know in communities (like Facebook). Then invite more people you meet during the hike.
Is the Japanese language a barrier?
TL;DR: With current technology, it’s fairly easy to translate your thoughts to Japanese, and vice versa.
- I recommend using the DeepL app: it translates much better than Google Translate or Apple Translate (at the time of this article though…). But it’ll require some network, so install Apple/Google apps too as a fallback (with an on-device translation model).
- Learn a few words of Japanese vocabulary. It’s not too difficult to pronounce, and it’ll greatly help you.
Author Vincent Germain